Forget Cheese: 3 Unexpected Ways to Use Your Serving Board
I want to introduce you to the “Deconstructed Meal” platter. It’s a method that’s visually stunning, incredibly easy on you as the host, and makes any meal feel like a special occasion. It turns dinner (or breakfast, or dessert!) into an interactive, fun “build-your-own” experience.
Here are three of my all-time favorite ways to use a board, “beyond charcuterie.”
Idea #1: The “Taco Tuesday” Board
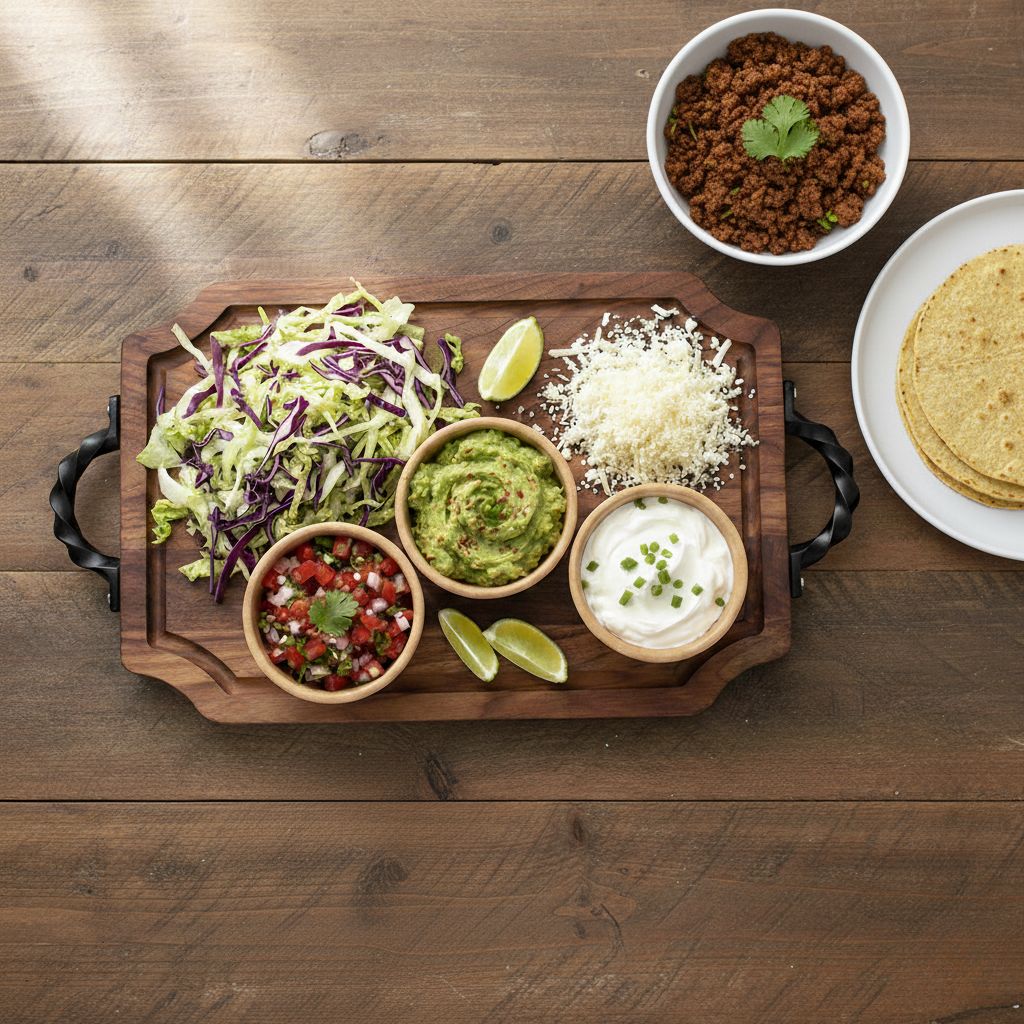
This is, without a doubt, the most frequent way my board gets used on a weeknight. It’s casual, festive, and a total crowd-pleaser.
- The Canvas: I love a deep rich walnut board for this. It just feels fresh and festive, and it makes the bright red of the salsa and the green of the cilantro and guacamole absolutely pop.
- How to Build It: This is so easy. Remember our “Anchors” formula from the charcuterie post? Same principle.
- Anchors: Place 4-5 small bowls on the board for your wet ingredients: guacamole, sour cream, salsa, pico de gallo, and pickled jalapeños.
- The “Fill”: Now, fill in the spaces. Piles of shredded lettuce, a pile of shredded cotija or cheddar cheese, a big bunch of fresh cilantro, and a row of lime wedges.
- The “Vehicles”: Add your hard shells or a pile of warm, soft tortillas.
- How to Serve: Just place this stunning board in the center of the table with a hot skillet of your seasoned ground beef or pulled chicken right next to it. Everyone builds their own, and the “wow” factor is off the charts for a Tuesday night.
Idea #2: The “Weekend Pancake & Waffle” Board

This is how you win Sunday brunch. It turns a simple breakfast into a full-blown celebration.
- The Canvas: Again, a walnut board is the choice for brunch. It’s bright, airy, and feels perfect in the morning light.
- How to Build It:
- The Hero: Start by placing your “hero” item right in the center: a giant, warm pile of fresh pancakes or waffles.
- Anchors (Bowls): Surround the hero with small bowls of your toppings. I always do one for warm, pure maple syrup, one for whipped cream, and one for chocolate chips.
- The “Fill”: This is where you add color and contrast. Piles of fresh berries (strawberries, raspberries and blueberries are a must), sliced bananas, and if you want to go up another level, add a big, crispy pile of bacon or breakfast sausages.
- How to Serve: Bring the whole board to the table and pour the coffee. The final “flair”? A dusting of powdered sugar over the entire board, berries and all, right before it’s served.
Idea #3: The “Fireside S’mores” Board
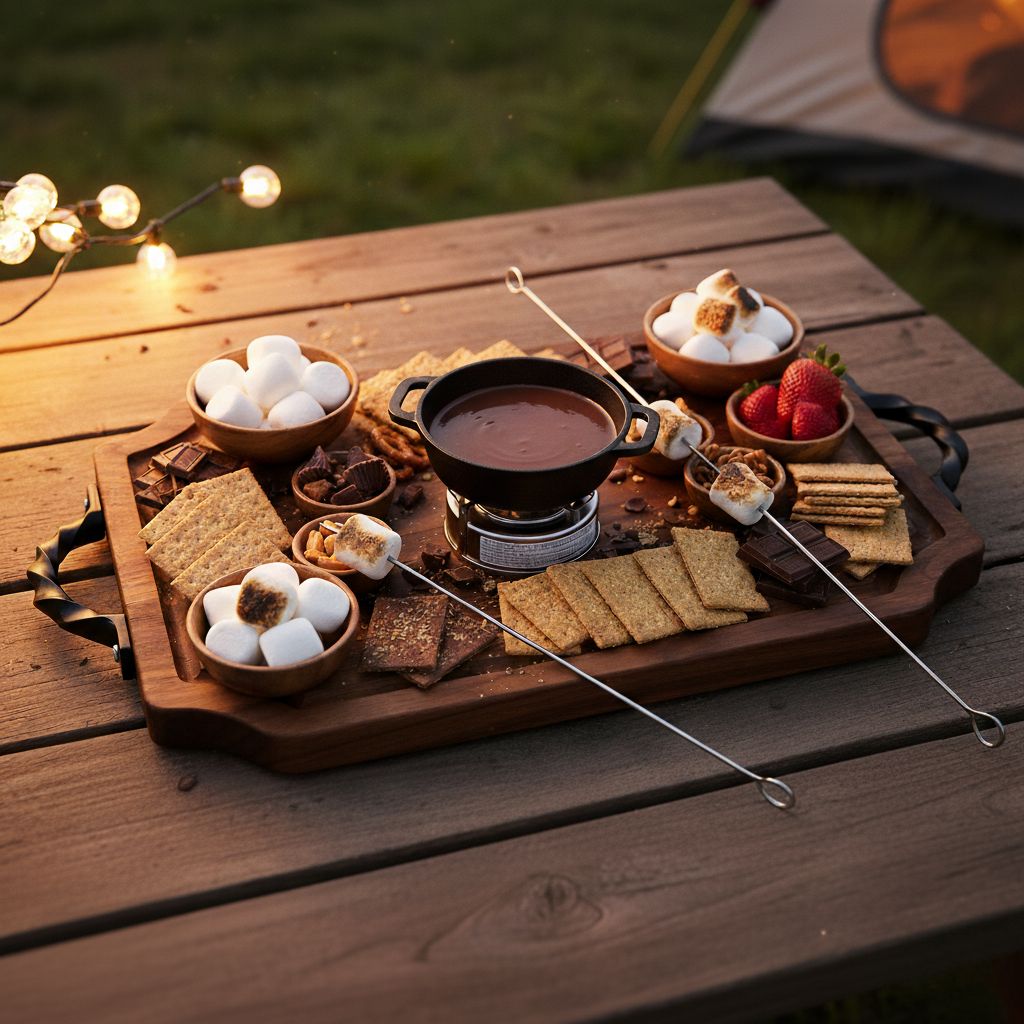
This is my favorite for a low-effort, high-impact dessert. It’s pure, interactive fun.
- The Canvas: This is where my dark walnut board is the only choice. The deep, moody wood is so dramatic and romantic. It makes the white marshmallows and colorful candy wrappers look incredible.
- How to Build It: This is the easiest one of all. It’s all about “beautiful piles.”
- Piles: A pile of classic graham crackers. A giant pile of marshmallows. And the most important part: a pile of different chocolates. Think classic Hershey’s bars, but also dark chocolate squares, Reese’s Peanut Butter Cups, and caramel squares.
- The “Flair”: Add the roasting sticks right to the board.
- How to Serve: Place the board on the coffee table in front of the fireplace, or (safely) on the patio next to a small, tabletop fire pit. It’s an activity and dessert all in one.
Your Board is a Stage
So there you have it. Your board isn’t just a platter; it’s a stage. It’s the easiest, fastest way to spice up a simple weeknight meal, a lazy weekend breakfast, or a fun family dessert into a memorable event.
Don’t let your most beautiful tools wait for a “special occasion.” Using them is the special occasion.
If you’d like to build a board like this one, you can do it here.